Quick and Easy Fireplace Transformation with Peel and Stick Tiles
- Kiersten

- Mar 4, 2021
- 4 min read
Updated: Apr 15, 2023
After our walls got a fresh coat of paint (see our before and after transformations here), it was easy to determine my next project: updating the look of the fireplace. We spent a fair amount of time together in the living room because it was the only TV we had hooked up that everyone could watch, so I found myself constantly staring at the fireplace. With the white walls and crown molding, it stuck out A LOT more than it did before.

I knew painting it was something I could tackle in a weekend myself but I wasn't sure exactly what I wanted to do with it. I spent a lot of time on Pinterest looking for inspiration, but I found myself getting lost in beautiful stone surround fireplaces with built-in shelving on either side. That's not exactly a "get it done in a weekend for cheap" project, so I decided to do something quick that could help blend it in better to its new surroundings. Someday we may try to do more of a renovation but for now, a facelift had to do.
I taped off the granite, walls and floor and started in on the surround. I used the same primer that we used on the crown molding and gave it a good coat. This was the first time I had used an oil based paint, which I quickly learned has a whole different clean-up process. I didn't have mineral spirits, so I tried to use olive oil to clean out the brush but eventually just gave up and threw the brush away. Luckily it wasn't an expensive one.

I tried a new painters tape with this project that I really liked. It had a small plastic drop cloth strip attached to it which made protecting the floor easy. I ended up putting a strip on the hearth as well once I realized how much splatter was happening as a result of trying to cram paint into all those little nooks and crannies up at the mantle.The good news is I was able to scrape any lingering drops off the granite with a razor blade.

I applied two coats of the semi-gloss paint we used on the trim and called this one a wrap. Another weekend, another transformation! I primed it on a Friday night and pulled the tape off Saturday night. Another quick fix! So I thought...
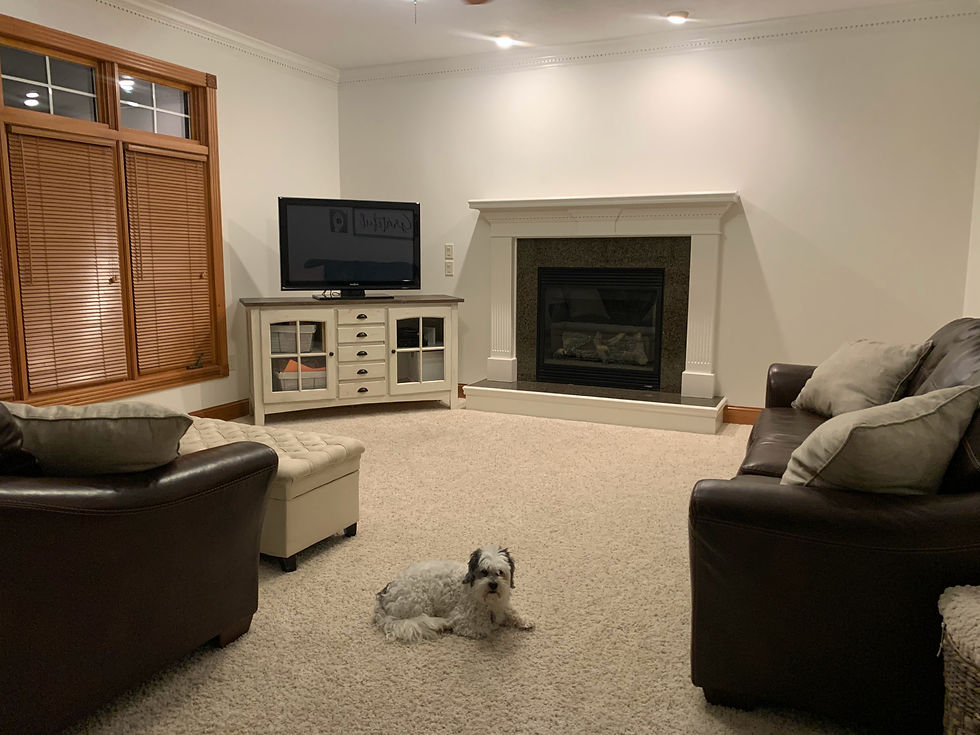
Surrounding the fireplace is actually the same dark granite that is in the kitchen and main level bathroom vanity. They must have gotten a deal on one big slab when building the house. I just didn't love how dark it was and how it blended in pretty closely with the fireplace itself. Seriously, it's like you fix one thing... which highlights the next. I really didn't want to spend a lot of money taking it down and putting in new stone or tile (plus that's one project I haven't DIYd yet). I considered painting it, but when searching for other alternate options, I found Smart Tiles. They have a variety of peel and stick backsplashes that can go overtop of your existing walls and surrounds. You just need to measure the total area you need to cover and order enough to fit. Looked pretty painless and just required some scissors! Ordering direct from the site was going to take weeks, so I kept searching and found Home Depot carries a small variety - of course they do!
They had a couple options but I decided to try the Blok Carrera. I love the look of Carrera Marble surrounds, and figured this would be a quick and cheap way to see how much I actually do like it. I bought enough to cover and headed home. Only tools needed were my ruler, a utility knife and a cutting board.
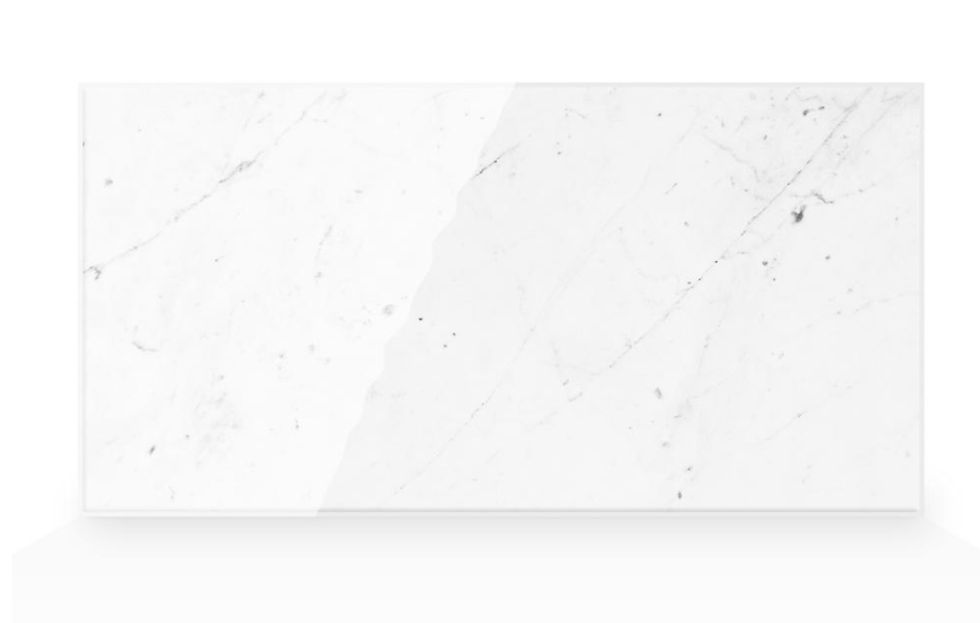
The tile sheets were 22.56 in W x 11.58 in. H each so they covered quite a bit in one application. After getting into it, I realized this was definitely a measure twice, cut once project. And was a patience tester. I was regretting not getting the stickers that had more natural "grout" lines for cutting purposes - there seems like there would be a lot less room for error with those. But I had already committed and kept going. It was just meant to be a quick fix afterall. I didn't get much for in progress shots, and this one has some terrible lighting, but you can see how it worked.

Finally, a few too many cuts and a couple extra sheets later, I called this one a wrap. From afar, it looks like the real deal. Up close, not so much. But for a FRACTION of the cost, and for something that could be accomplished in an afternoon, I'll take it. We'll see how long it holds up! But I'm already eyeballing my kitchen backsplash...


NOTE: For a 1-year update and review on how the stickers held up, and how they didn't, be sure to read this blog post here: https://www.foreverhomefix.com//post/fireplace-stick-on-tiles-review-one-year-later
Need a Fix Up? Here's what we used:
Interior Semigloss Enamel in White Flour
ScotchBlue Pre-taped Painter's Plastic (affiliate)
ScotchBlue Original Multi-Surface Painter’s Tape (affiliate)
Smart Tiles Blok Carrera Peel and Stick Self-Adhesive Mosaic Wall Tile
Craftsman Utility Knife, Retractable Blade (affiliate)
Metal Rulers 12 Inch - Stainless Steel Corked Backed (affiliate)
DISCLAIMER: This post contains affiliate links, which means that if you click on one of the product links, I’ll receive a small commission at no extra cost to you. This helps support our DIY projects. Thank you for your support!


Comments